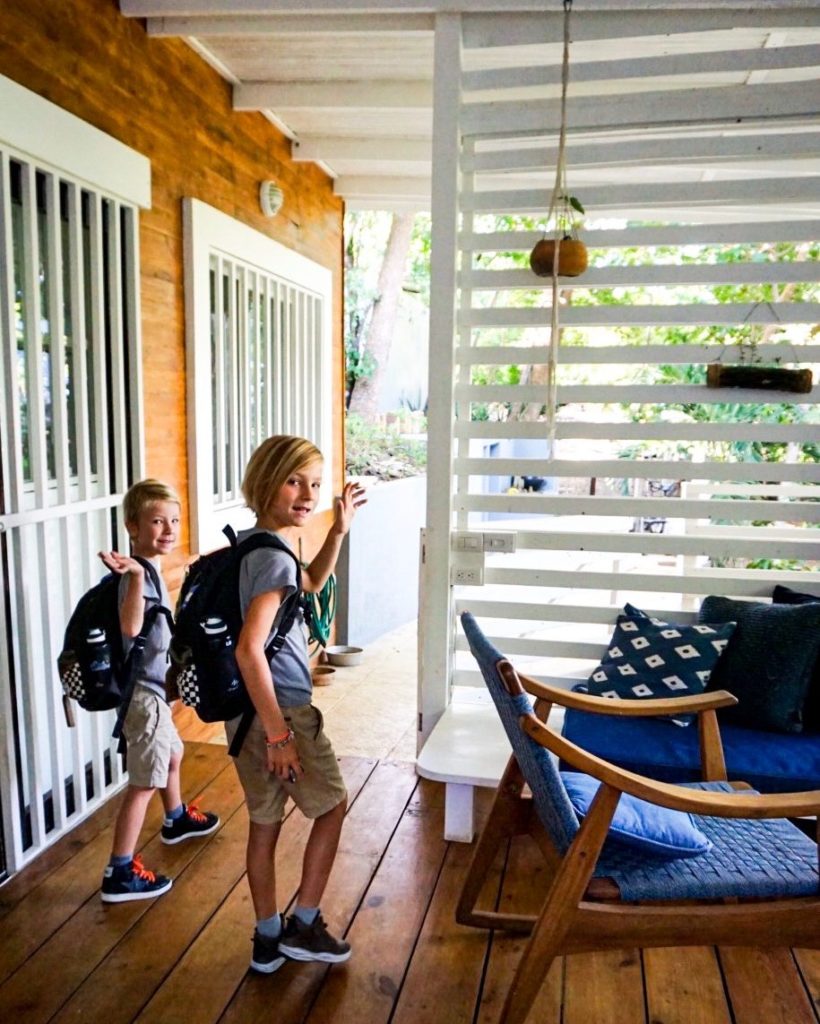
School starts again today for our kids. And I have to admit I have a hard time getting back into the routine again. We had a long summer back home in Europe; lots of camping and being outdoors. Now it is back to meal planning for the week including healthy lunchbox snacks; to get some structure back into our lives!
I am here to share a few of my favorite healthy (lunchbox) snacks with you including homemade goldfish! At our kids’ school there is a ‘healthy snacks policy’ which suits me just fine! Let’s make some healthy back to school snacks!
All these snacks are approved by my kids. So I know they will eat them and not throw or give them away at school. When I come up with a new recipe I often have them help me make it. I strongly feel that kids are more likely to eat whatever you come up with if they take part in creating it. Well, all of the healthy snacks mentioned below have been tried by them and passed the test.
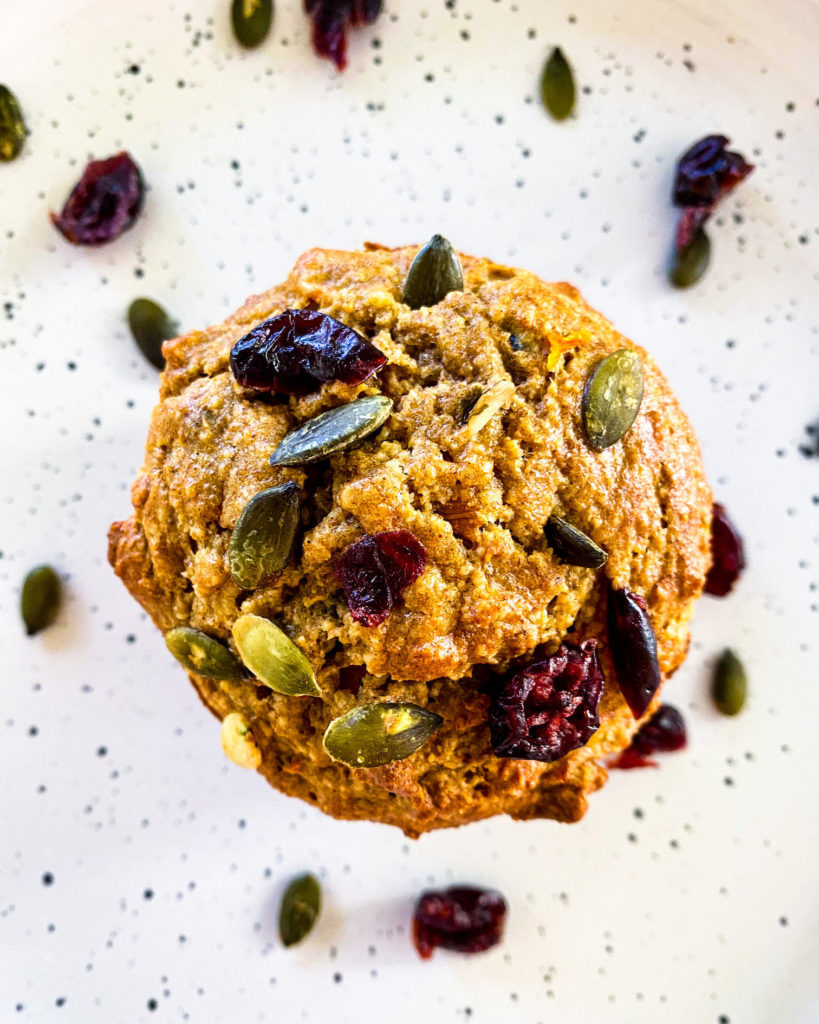
So here is my list of approved lunchbox snacks. They are healthy, easy to make and most freeze well so you can make them (in bulk) ahead of time.
Healthy back to school snacks
Carrot cake muffins
Carrot cake muffins made with whole wheat flour and almond flour. Naturally sweetened with ripe bananas. And the nuts and seeds provide protein, fiber and heart-healthy unsaturated fats. The perfect healthy snack to bring to school! More into apple? Try these healthy apple oatmeal muffins.
No bake apple pie bites
Speaking of apples, these no bake apple pie bites are truly amazing! Easy to make, no oven required. You will whip these up in less than 10 minutes, promise!
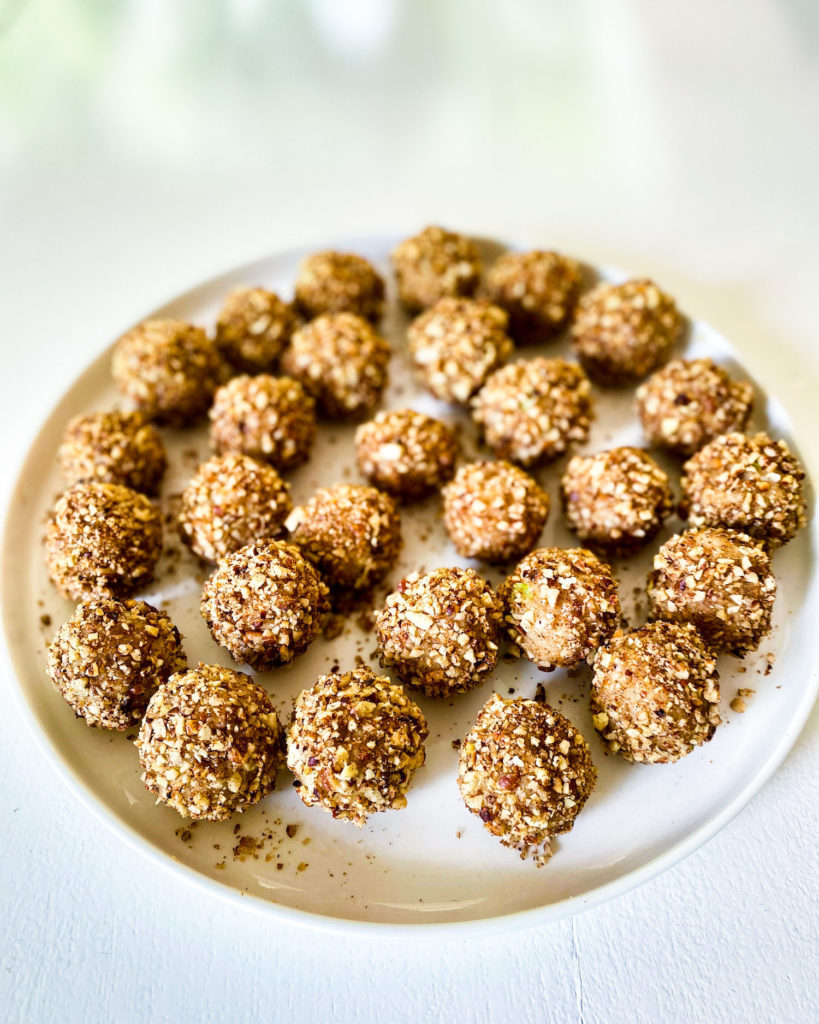
Pancake wraps
I freeze leftover pancakes so I can then use them for this school snack. My healthy pancake recipe is great for these wraps. I spread passionfruit vegan cream cheese on them and roll them up. A super quick and easy snack!
Cream cheese wraps
With leftover homemade whole wheat tortillas I make this snack. I spread vegan sundried tomato cream cheese on them, roll them up and they are ready to go into a lunchbox!
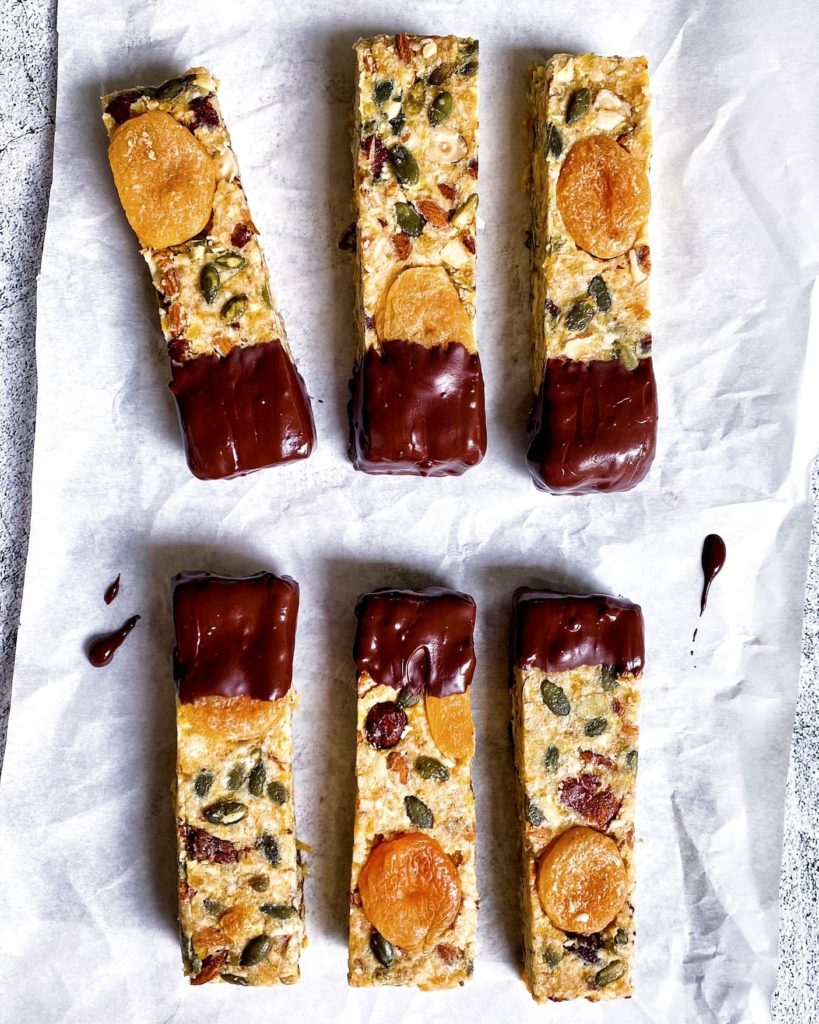
Granola bars
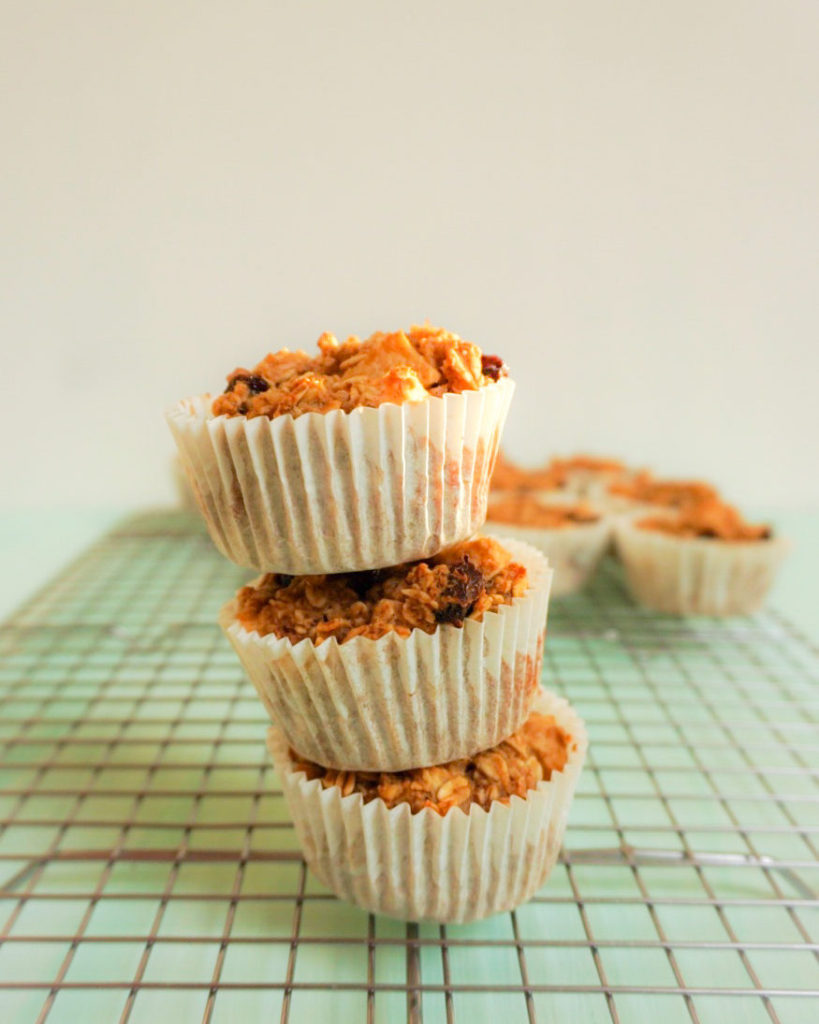
Baked or no bake granola bars, you cannot go wrong here. I wrap them individually in wax paper. The baked bars will keep for a few days in an airtight container. The no bake bars I usually freeze after wrapping them in wax paper and stacking them in an airtight container. The flavor combinations are endless so you can send your kids to school with a different bar every week. SWOON, another healthy snack!
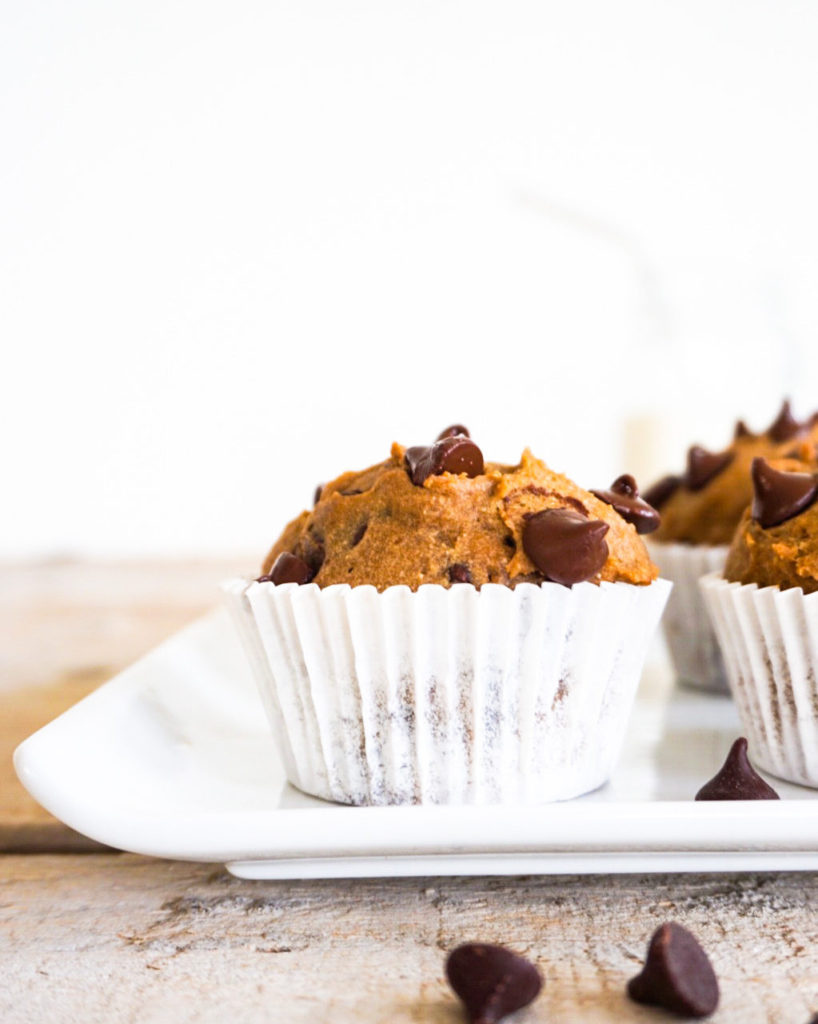
Banana bread (muffins)
My kids love banana bread and somehow they like it even more when I make muffins with the batter instead of a loaf. For a lunchbox snack muffins are more preferable, because they hold together better; a slice of bread crumbles or breaks when they pick it up out of their lunchbox. So all I do is pour the batter in a (mini) muffin tin and reduce the oven time (to 20-25 instead of 60 minutes). Check out my healthy moist banana bread, marbled banana bread, gingerbread banana bread or vegan double chocolate banana bread recipe.
Goldfish
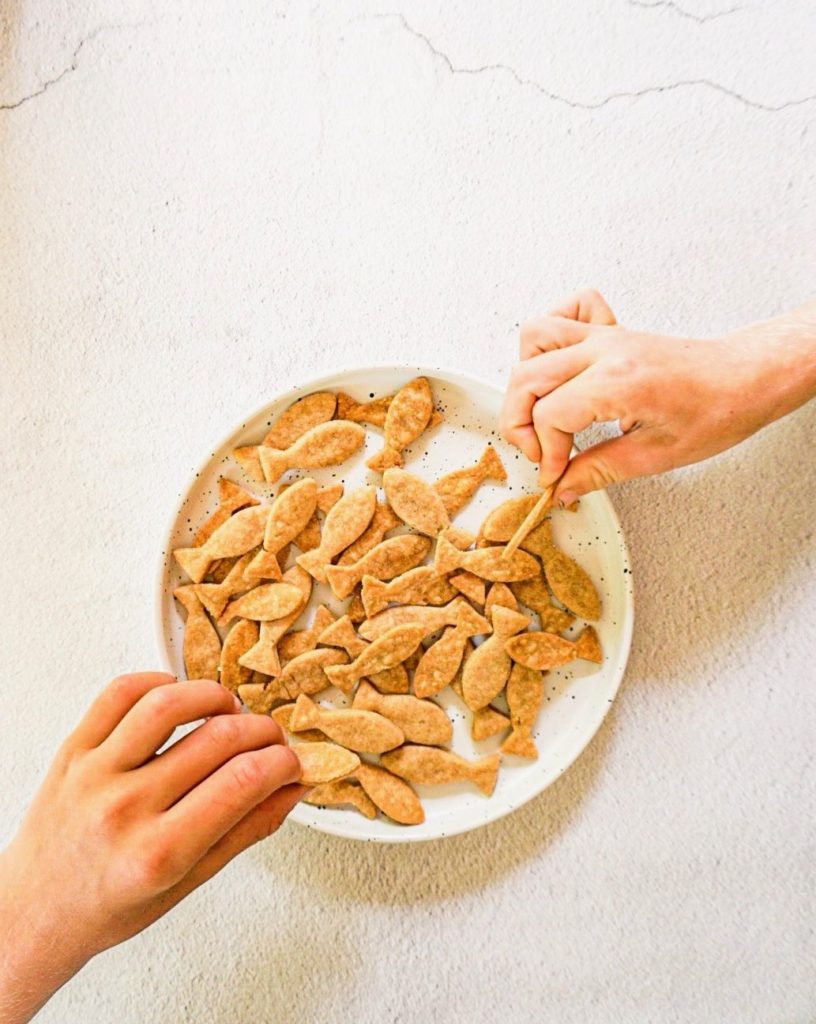
Homemade goldfish! I developed this snack last year and I had my kids test and try them. They approved! Made with whole wheat flour and less butter, cheese and salt than the store bought ones. They come out of the oven puffed up and crispy!
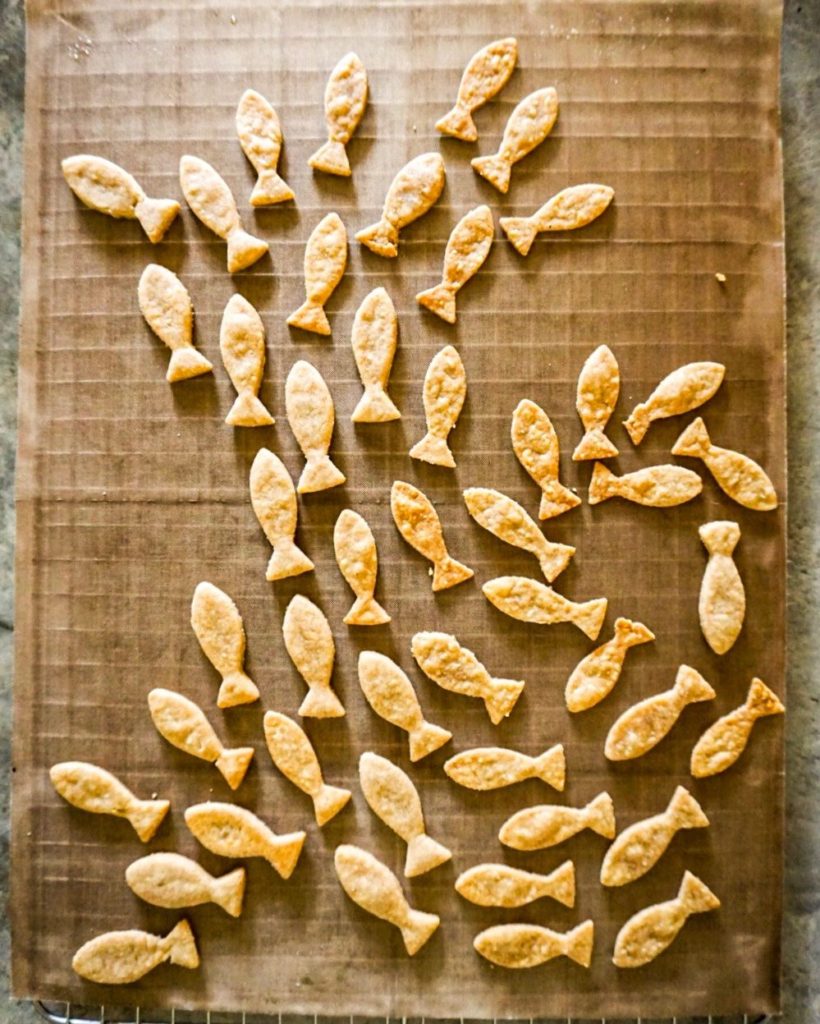
Below I am sharing my healthy goldfish recipe with you. All of the other snack recipes you can find on the blog. Just click on the links.
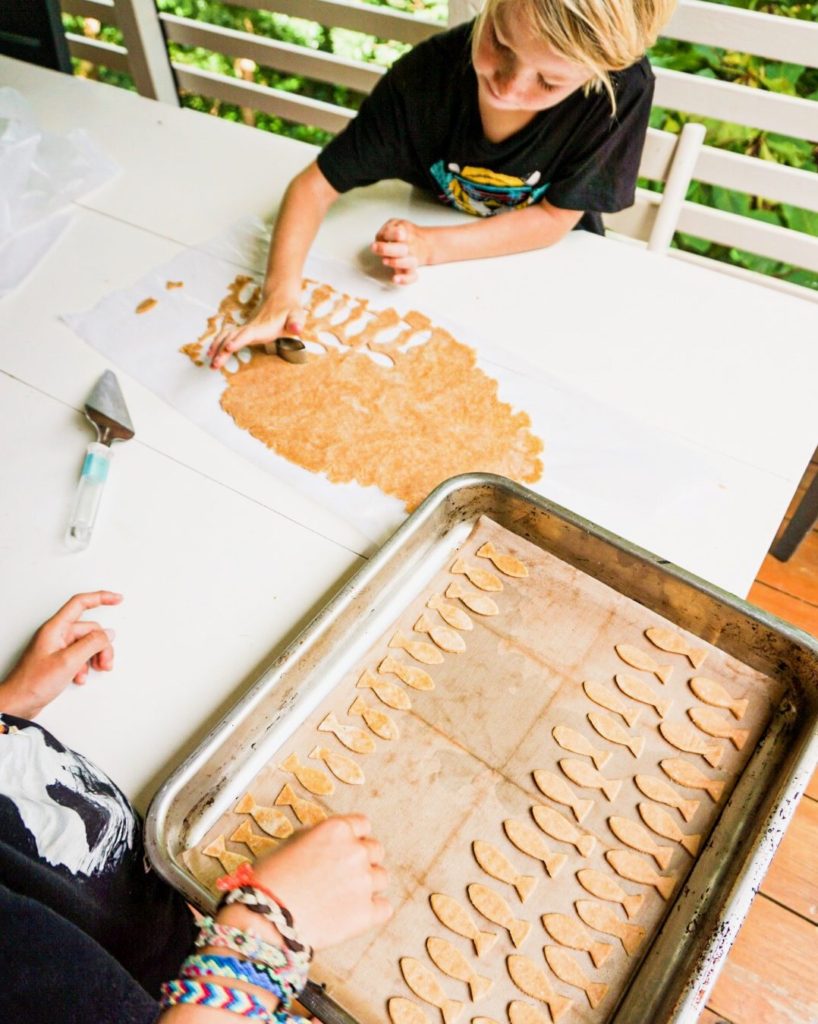
My kids really like helping me make goldfish. Only 5 ingredients and 5 minutes of your time to make the dough. Roll it out thin, let the dough rest in the refrigerator for a while and your goldfish will turn out super crispy and puffy!
If using a (goldfish) cookie cutter is too much work for you, just roll out the dough and cut it into squares, triangles or rectangles. Saves you time and you will end up with the same crispy crackers!
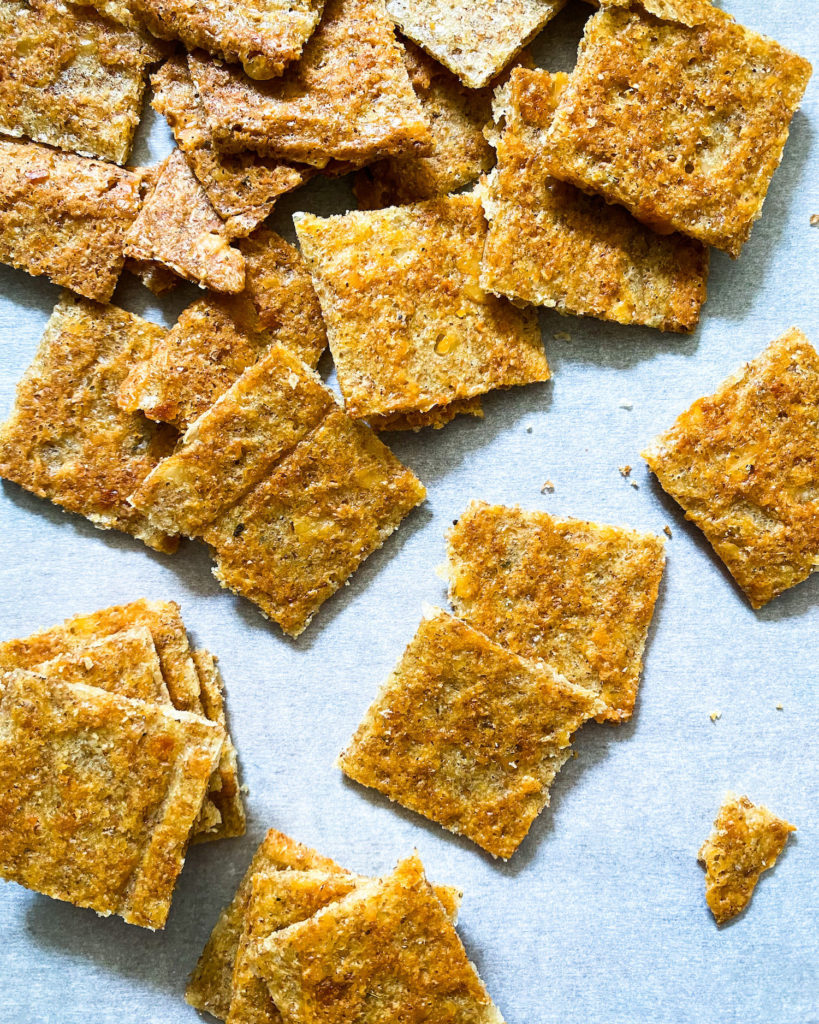
All of us, not only the kids, enjoy all these healthy snacks a lot and we make them all the time. I hope you will enjoy them as well. They are:
kids approved – healthy, so school approved – easy to make (ahead of time) – and very delicious
I usually make a large batch of all of these lunchbox snacks and freeze them (except for the baked granola bars and goldfish). The only thing you have to do is take them out of the freezer in the morning. Granola bars will thaw in their lunchbox; you don’t have to do anything. Muffins I usually heat up in the oven for 5 minutes to get them crispy on the outside and fluffy on the inside again. Make sure to let them cool off before putting them in a lunchbox (otherwise the condensation will make them soggy). Pancakes and tortillas are defrosted by the time you have put cream cheese on them and will be ready to roll and put in a lunchbox. Easy peasy!
Homemade goldfish
Equipment
- Baking tray
- Rolling pin
- High speed food processor
- Cookie cutter (fish shape)
Ingredients
- 125 gr whole wheat flour (preferably white whole wheat flour, but otherwise regular whole wheat flour works as well)(approx. 4 tbsp)
- 1 tsp sea salt
- 30 gr unsalted butter (regular or vegan butter, cold)(approx. 2 tbsp/ ¼ stick)
- 30 ml extra virgen olive oil (approx. 2 tbsp)
- 225 gr cheddar cheese (grated))approx. 1 cup)
- 4-6 tbsp water
Instructions
- Add flour and salt to a foodprocessor and pulse.
- Add butter, olive oil and cheese. Pulse until the mixture resembles a coarse meal.
- Add water 1 tbsp at a time until the dough forms into a ball. This can take a few minutes. Continue pulsing between tbsps and scrape down the sides every once in a while. When it shapes into a ball the dough is ready. I sometimes take the dough out of the processor and form the dough ball by hand (it just sometimes need a bit of help).
- Using a rolling pin, flatten the dough between 2 pieces of parchment paper and chill for 15-20 minutes in the refrigerator. This helps the butter get cold and makes the goldfish puffier.
- Preheat the oven to 350F/175C
- Roll out the dough. Do it quick to keep the dough cool. It needs to be fairly thin though (1/8 inch). Thinner = crispier!!
- Cut out the fish shapes with a cookie cutter (or just cut them in squares if you prefer regular crackers). Line a baking tray with parchment paper and place them on it.
- Bake them for 15-20 minutes. Let them cool off completely before putting them in an airtight container.
Notes
DID YOU MAKE THIS RECIPE?
If you like this recipe, please consider rating it with the star rating system and leave a comment below – it’s so helpful for us and other readers. Thank you! And don’t forget to snap a picture if you make this and tag @familicious.kitchen on Instagram and hashtag it #familicious. Awesome! You can also find us on Facebook and Pinterest.

Leave a Reply