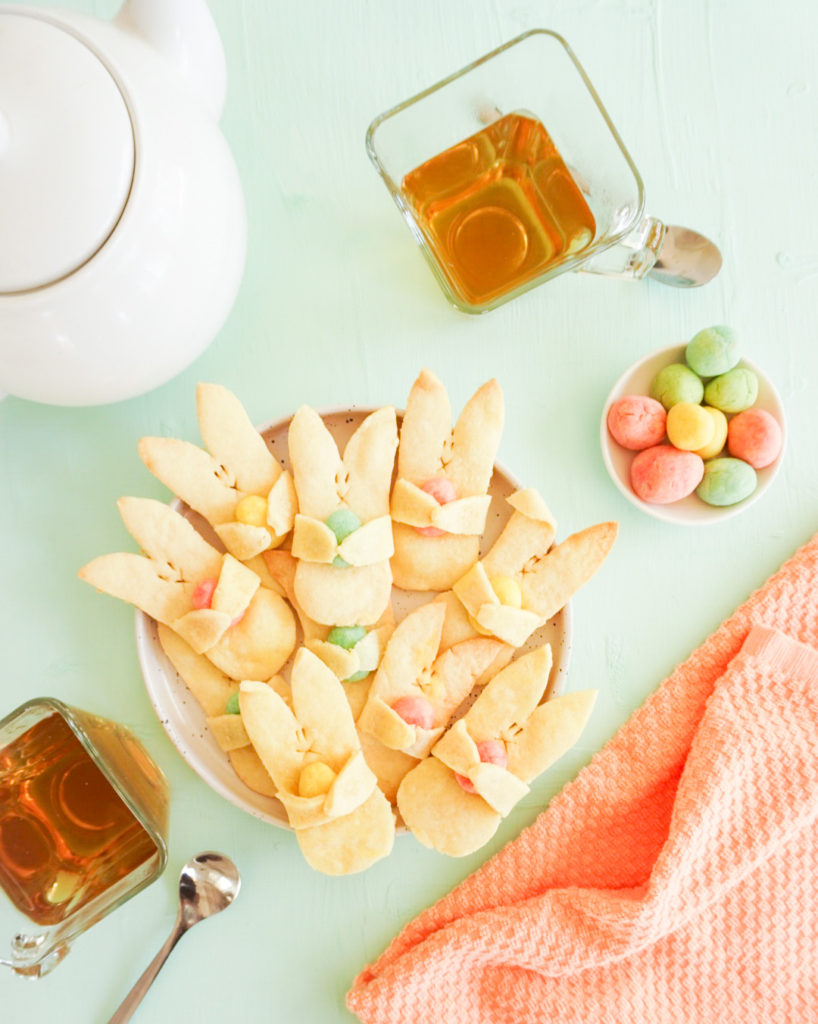
What do you think of these cute crispy lemon bunny cookies? Not only do they look great they also taste amazing. They are fairly healthy and gluten free and on top of that they are so easy to make (with your kids)! We can all use some cuteness in our lives, right!?
Crispy lemon cookies that are great year around, not only for Easter. Let’s bake some crispy lemon bunny cookies!

How I make these cute bunny cookies?
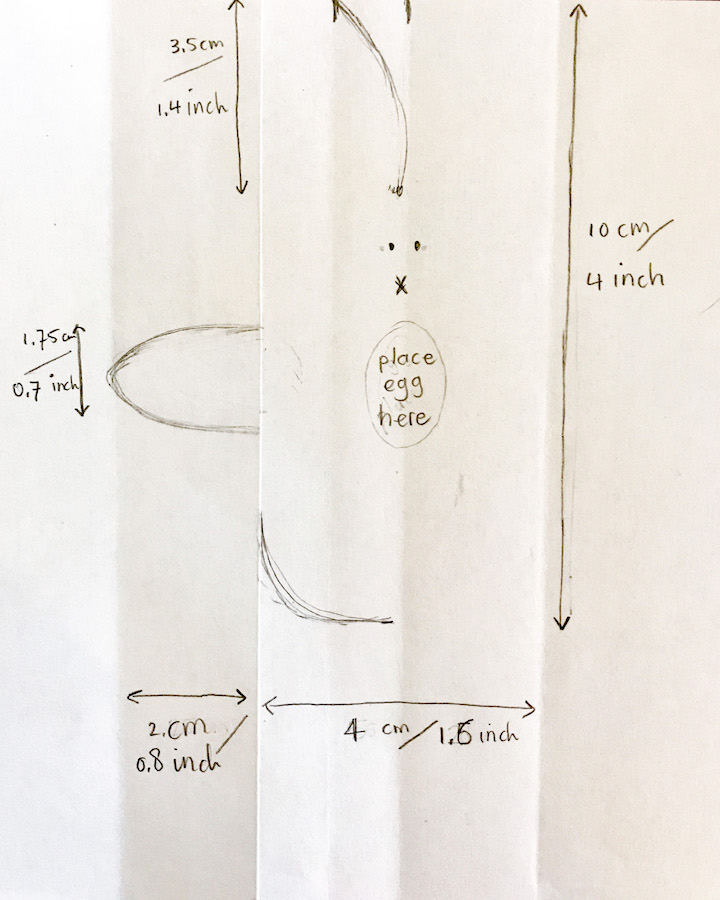
Hand cut bunny mold
I draw and cut out a bunny that I will use as a mold for my bunny cookies. Something similar to this:
The cookie dough:
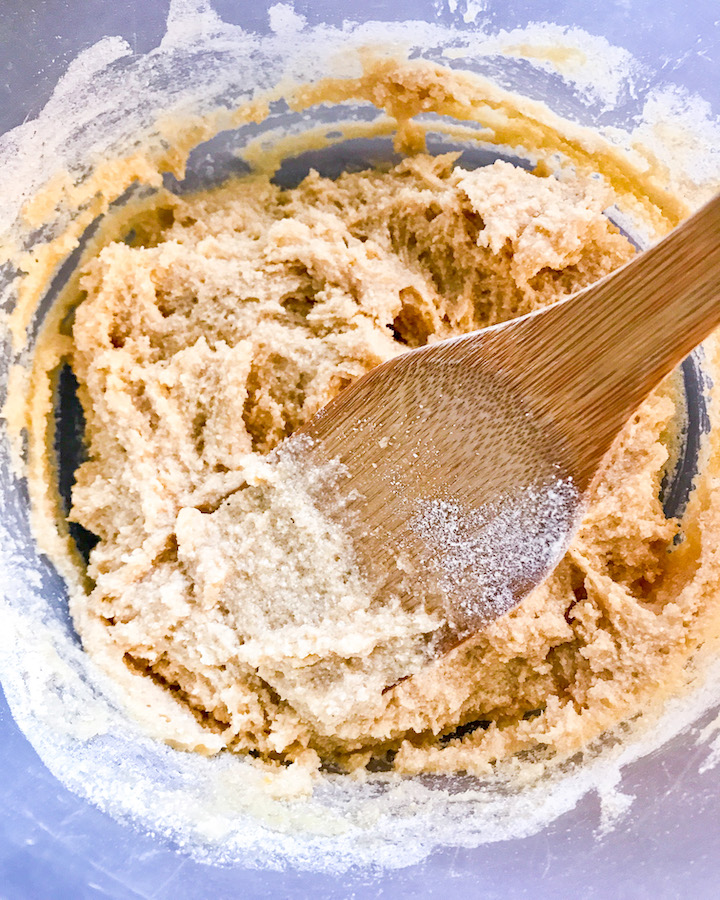
To make the cookie dough for these gluten free lemon cookies, I start by creaming the butter and sugar; in a medium mixing bowl I whisk together the butter and sugar. I add the egg, lemon juice and zest, vanilla and salt. I whisk until everything is combined. Then I add the flour. Using a wooden spoon, I mix it all together.
I divide the dough in half. I immediately refrigerate one half of it. The other half I divide in 3 equal parts (or 4 if you want more colors). To each dough ball I add one or two drops of (natural) food coloring and mix it well until the dough has one solid color.
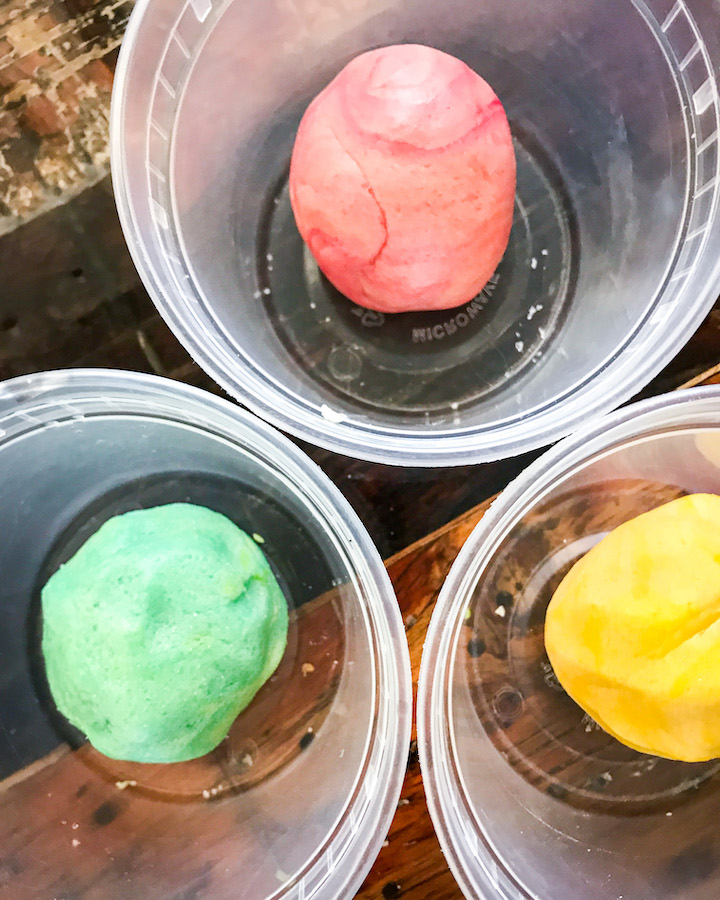
I refrigerate the colored dough balls as well for about 30 minutes (longer is even better!). I know, not what you wanted to hear, but it is important. The cookies will hold their shape better and the flavors will develop while resting.
Cutting out the bunnies
Onto a lightly floured surface, I roll out half of the dough. I aim for a ¼ inch thickness.
Once the dough has been rolled out, I cut out the bunnies by placing my homemade paper mold on the dough and tracing it with a sharp knife.
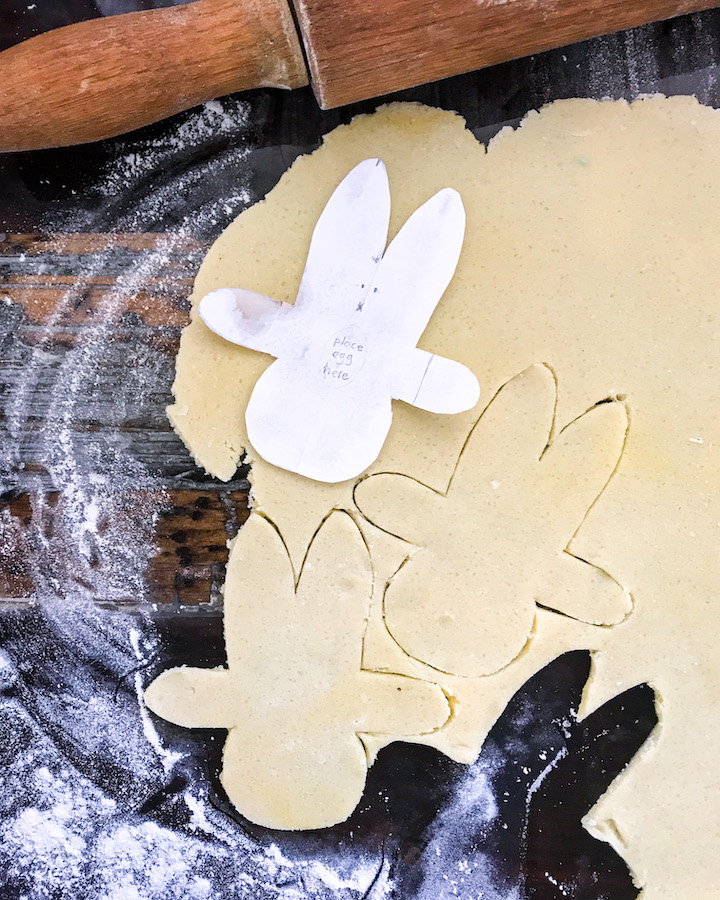
I carefully transfer each cut-out bunny with a spatula to a parchment paper lined cookie sheet. I make sure they are not touching. These cookies do not spread out much though; I just make sure there is a little bit of room between each cookie.
I use a sharp knife to make the nose and eyes on each bunny cookie.
Now it is time for the Easter eggs. I roll little egg-shaped balls from the colored doughs, place one on each bunny’s belly and fold the arms/paws over it, like it is holding an Easter egg!
Now that the bunnies are holding their eggs, it is time to bake them! I slide the cookie sheet in the oven and bake them for 10-12 minutes in a preheat oven. Since these are thin sugar cookies I really have to keep an eye on them; they turn dark on the edges very quick (as you can see in the pictures some of mine have…).
After taking the bunny cookies out of the oven I let them cool off for 5-10 minutes before transferring them to a cooling rack. They will firm up when they cool off, so I let them cool off completely before transferring them to a serving platter.
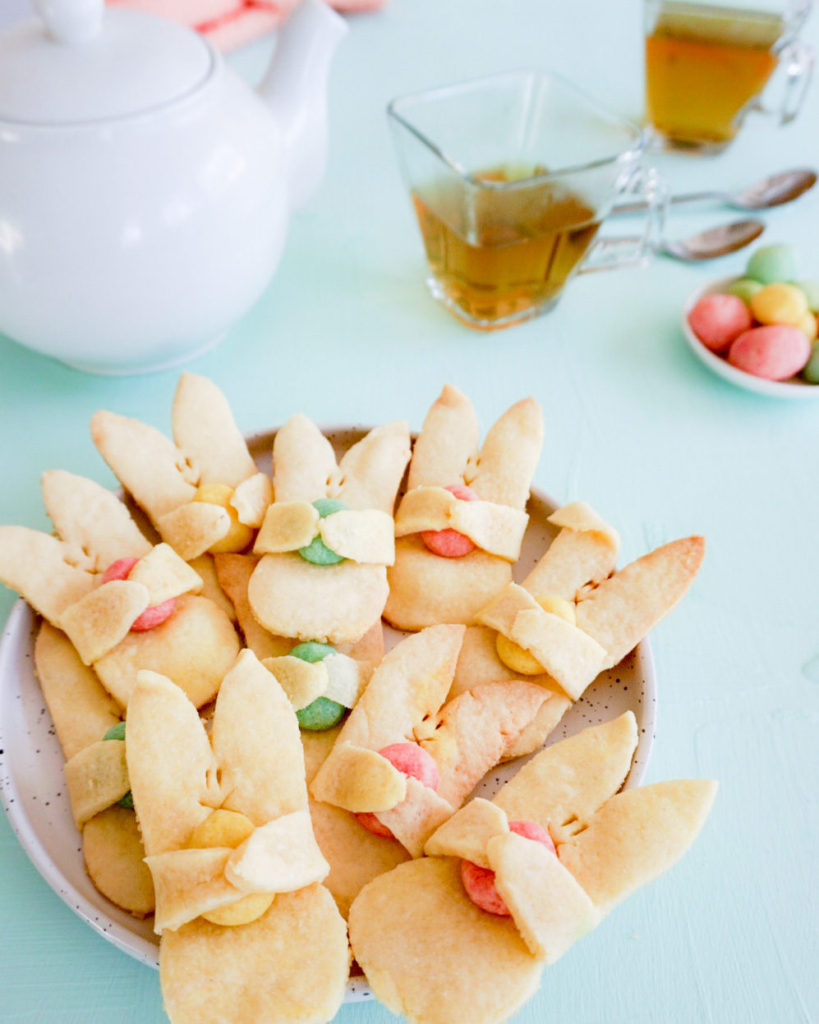
My kids love to make these crispy lemon bunny cookies with me. I hope you enjoy making them with your kids too. They are
easy to make (with kids) – so cute & colorful – on the healthier side – and very delicious!
Make these bunny cookies for your Easter brunch together with my Easter bread (which is also my Christmas bread) and/or this insanely delicious carrot coconut bread, some coconut crusted french toast and oats & almonds pancakes while you are at it! Happy Easter friends!

Bunny cookies
Equipment
- A ruler, a piece of paper and a pair of scissors to make the bunny mold.
- A rolling pin
- A cookie sheet and parchment paper
Ingredients
- 300 grams organic unrefined sugar ((= approx. 1¼ cups) or you can even use Stevia or Xylitol if you want to stay away from sugar (use a bit more though 320 grams/ 1½ cup))
- 170 grams butter (=approx. ¾ cup)(or sub vegan butter or margarine)
- 2 small eggs
- 2 tsp lemon zest (from the same lemon as the juice)
- 1½ tbsp lemon juice (from the same lemon as the zest)
- ½ tsp fine grain sea salt
- 2 tsp pure vanilla extract
- 360 grams gluten free all purpose flour (=approx. 3 cups)(plus more for dusting)(or sub regular AP flour)
- 1 tsp xanthum gum (if your GF flour doesn't contain it already!)
- a few drops natural food coloring (use only 1 or 2 drops of each color. I used yellow, red and blue, but you can use others and/or add 1 more color)
Instructions
Bunny mold:
- Draw and cut out a bunny to use as a mold. See my example in the text above.
Cookie dough:
- In a medium mixing bowl whisk together butter and sugar. Once creamy, add eggs, lemon juice and zest, vanilla and salt. Whisk until combined. Now add flour. Use a wooden spoon to mix it all together.
Adding food coloring and refrigerating the dough balls:
- Divide the dough in half. Cover one half with plastic foil and immediately refrigerate it. Divide the other half in 3 equal parts (or 4 if you want to add another color) and place them in different (small) mixing bowls. To each dough ball add one or two drops of (natural) food coloring and mix it well.Wrap each ball in plastic and refrigerate for about 30 minutes (longer is even better!).
- Preheat the oven to 350F/175C and line a cookie sheet with parchment paper.
Cutting out bunnies:
- Onto a lightly floured surface, roll out half of the dough to a ¼ inch thickness (the one without food coloring). Once the dough has been rolled out, cut out the bunnies by placing your homemade paper mold on the dough and tracing it with a sharp knife.Carefully transfer each cut-out bunny with a spatula to the lined cookie sheet. Use a sharp knife to cut out the nose and eyes on each bunny cookie.
Colored Easter eggs:
- Roll little egg-shaped balls from the colored doughs, place one on each bunny cookie and fold the arms over like it is holding an Easter egg.
Bake the bunnies!
- Slide the cookie sheet in the oven and bake them for 10-12 minutes in the preheated oven. Since these are thin sugar cookies you really have to keep an eye on them; they turn dark on the edges very quickly!After taking the out of the oven, let them cool off for 5-10 minutes before transferring them to a cooling rack. They will firm up when they cool off, so let them cool off completely before transferring them to a serving platter.
Notes
DID YOU MAKE THIS RECIPE?
If you like this recipe, please consider rating it with the star rating system and leave a comment below – it’s so helpful for us and other readers. Thank you! And don’t forget to snap a picture if you make this and tag @familicious.kitchen on Instagram and hashtag it #familicious. Awesome! You can also find us on Facebook and Pinterest.

I adapted this recipe to make 200 biscuits for our wedding favours. Everyone loved them – thank you so much! They particularly rated the lovely fresh lemon taste of the biscuits and our guests with or without gluten-free dietary requirements all enjoyed them. I’ve since adapted the recipe for a thank you present for a large group of colleagues, who were equally happy!
Hi Lara, I am so happy to hear this! And congrats on your wedding!