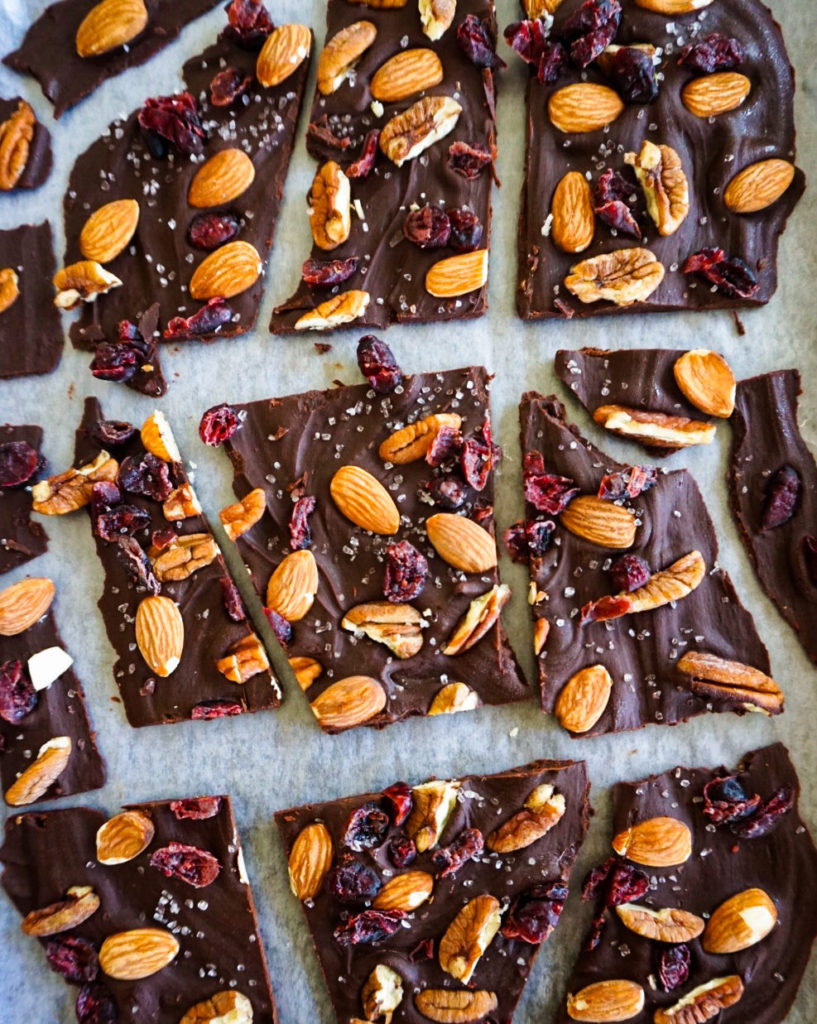
You’ll be the star at every party if you make this recipe! But I totally understand if you ‘accidentally’ forget to bring it and show up empty handed (-: I always have a stash of chocolate bark in my freezer. It is at the top of my binge-watch-Netflix snacks list.
This chocolate bark recipe is SO easy to make and you will probably have all of the ingredients in your pantry already. The recipe is adjustable so add-in whatever you feel like. I’ll share my favorite recipe below and also my kids’ favorite.
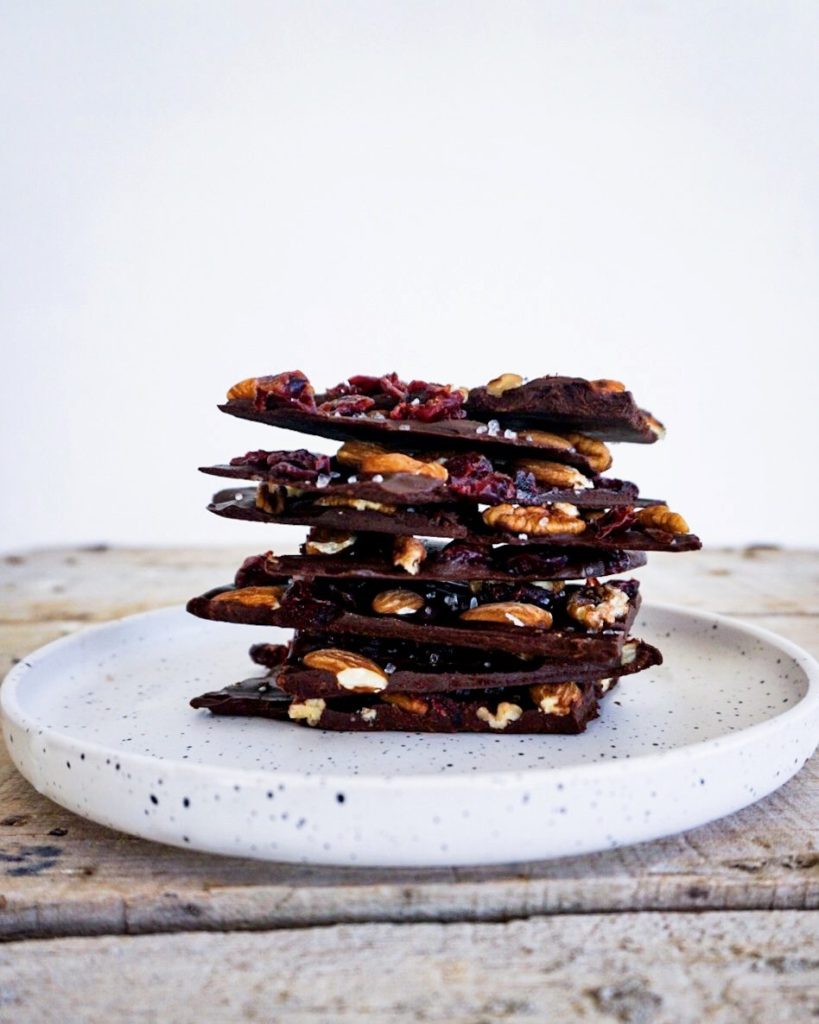
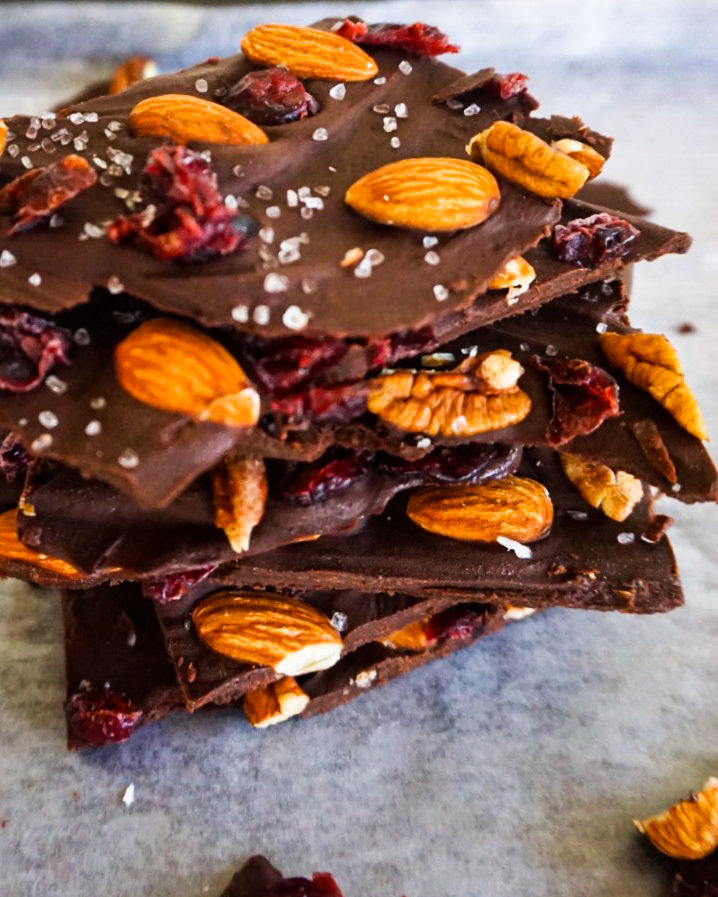
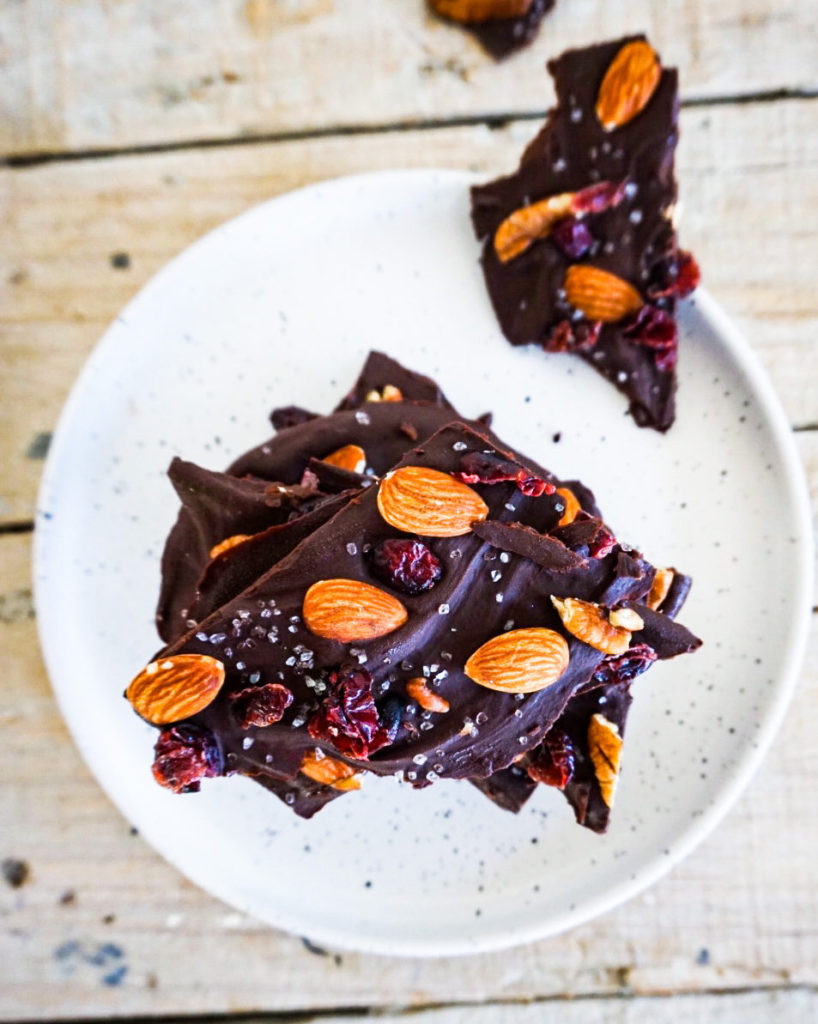
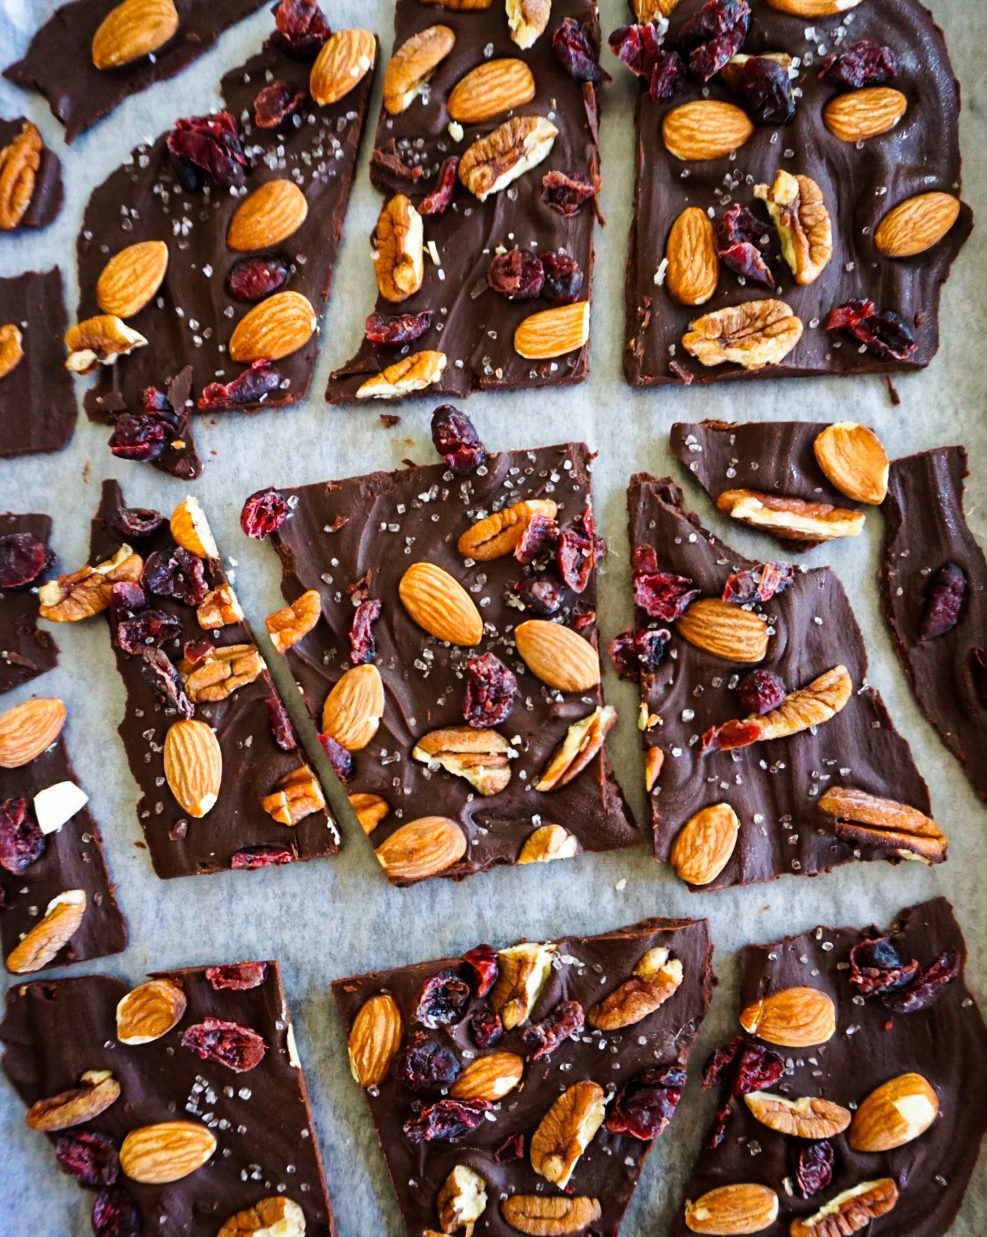
The chocolate bark you see here features dark chocolate, toasted almonds and pecans and dried cranberries topped with a sprinkle of coarse sea salt. But the possibilities are endless; any type of nut will do, add seeds like sunflower and pumpkin seeds and any type of dried fruit. So IN-CRE-DI-BLY simple, so IN-CRE-DI-BLY good!
So, how to make chocolate bark?
It’s so easy (and therefor great to make with kids!). All you have to do is this..
Prepare all add-ins
Start by prepping your add-ins for the chocolate bark. You will find a list of possible toppings to choose from below. Just don’t overdo it; there needs to be enough chocolate to hold the add-ins together. So toast nuts and seeds. This is optional, but in my opinion a must do; it brings out such a wonderful flavor. Then chop up the nuts if they are too big. Now mix the nuts and seeds with your other add-ins.
Melt the chocolate
Melt the chocolate. You can do this in the microwave using a microwave-safe bowl and warming the chocolate in 30 second intervals, stirring after each one. The chocolate is ready when 80% is dissolved. The rest will melt outside of the microwave. I don’t own a microwave, so I melt the chocolate ‘au bain marie’; place the chocolate in a large heat-proof bowl over a pot of gently simmering water. Stir until it’s almost entirely melted (as said above, until 80% is dissolved).
spread out the chocolate
Pour the melted chocolate on a lined baking tray (I use a baking mat, but parchment paper works as well) and spread evenly over the center area of the baking mat. I always aim for about 1/4 inch thickness.
add your add-ins
Now sprinkle your prepared add-ins over the chocolate and lightly press them down with your fingers.
let the chocolate harden
If you can (if the climate you are in allows it) let the chocolate bark harden at room temperature which will take 2-4 hours. If you live in a hot climate like me or you just can’t wait to eat this, place the tray on a flat surface in the refrigerator (or even in the freezer if you really can’t wait) to harden for about 15 minutes. Be aware that the chocolate can develop some light condensation on the surface.
break the chocolate into chunks
Now all you have to do is use your hands to break the chocolate bark into pieces. I prefer big chunks. Keep in mind that if you are breaking it up in too many pieces you will end up with a lot of crumbs (and surely you don’t want to waste any chocolate, do you?). Serve immediately or store in an airtight container at room temperature for up to 1 week or in the refrigerator.

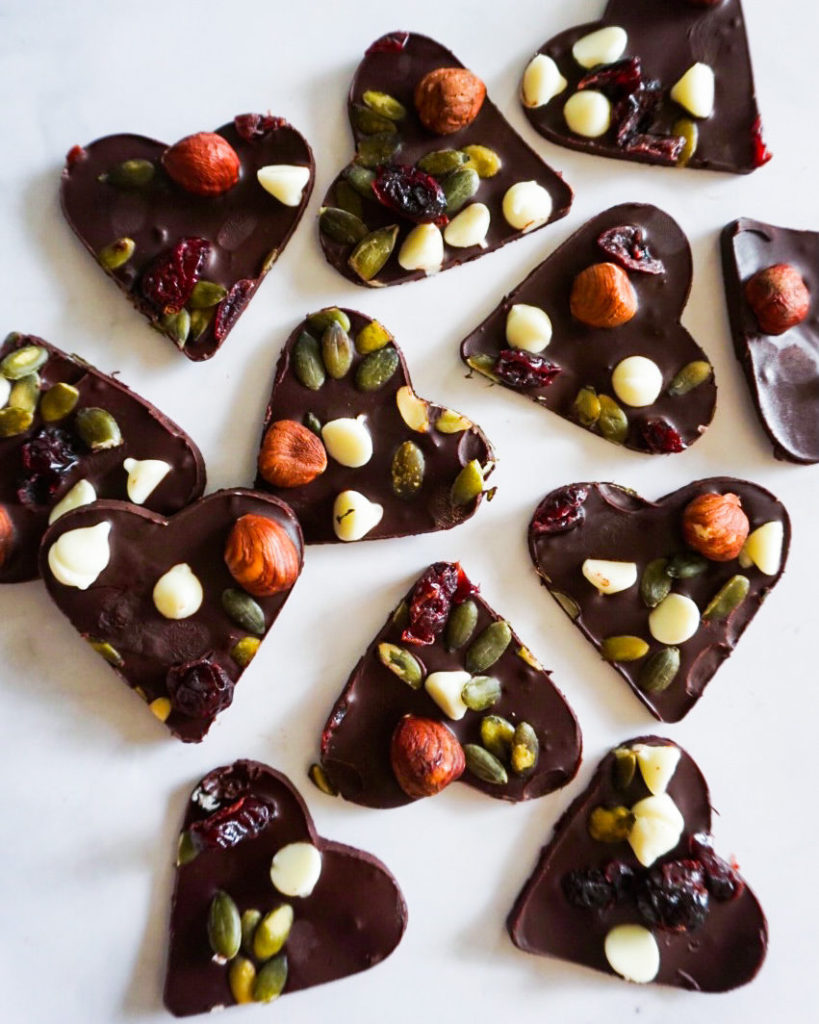
Next to the one shown in the pictures here, my other favorite chocolate bark combination is dark chocolate-pistachio-dried apricots with a sprinkle of coarse sea salt. My kids’ favorite is milk chocolate-popcorn-sprinkles. And if they get their way some mini marshmallow as well.
Here is a list to give you some inspiration on different add-ins for your chocolate bark. For this recipe you will need 3/4 cup of toppings.
- Nuts; almonds, pecans, walnuts, hazelnuts, pistachios, cashews, macadamias or peanuts;
- Seeds; pumpkin seeds, sunflower seeds or even chia;
- Dried fruits; cranberries, raisins, apricots, blueberries, cherries or even mango;
- Coconut; dried unsweetened coconut flakes or shredded coconut, coconut chips/shavings;
- Candied citrus, cacao nibs, candy canes, pretzels, popcorn, and so on..
- Spices; chili powder, cinnamon, ginger bread spices (don’t go overboard on this… maybe 1/4 tsp?).
I hope you all love this easy chocolate treat. I sure do! It is:
rich – chocolaty – perfectly sweet – crunchy – oh so easy and quick to make – customizable – awesome & amazing
Chocolate bark is the perfect naturally sweetened treat to have on hand for throughout the week. Need other snack and treat inspo? Check out these quick and easy no bake chocolate chip cookie dough bites, or my all time favorite healthy chocolate chip oatmeal cookies. What about these chocolate almond cups or brownie cookies?
Chocolate bark
Equipment
- Microwave or a heat-proof bowl and sauce pan
Ingredients
- 400 gr. good quality chocolate (chips) (can be dark or milk or dairy free if vegan or lactose intolerant) (400 gr.= 14 oz.)
- ¾ cup raw nuts or seeds
- ¼ cup dried fruits (chopped if large)
- ½ tsp coarse sea salt
Instructions
- Prepare your add-ins; toast nuts (optional), chop them if large. Same for dried fruit. Mix nuts and fruits and set aside;
- Melt the chocolate. Either in a microwave using a microwave-safe bowl and warming the chocolate in 30 second intervals, stirring after each one. Don't overdo it; chocolate is done when it is 80% melted. Or melt the chocolate 'au bain marie'; place the chocolate in a large heat-proof bowl over a pot of gently simmering water. Stir until it's almost entirely melted (80%), stirring frequently;
- Pour the chocolate on a lined baking tray (baking mat or parchment paper) and spread evenly over the center area of the baking mat. Aim for about 1/4 inch thickness;
- Now sprinkle your prepared add-ins over the chocolate and lightly press them down with your fingers;
- Let the chocolate bark harden at room temperature which will take 2-4 hours. If you live in a hot climate or you are in a hurry, place the tray on a flat surface in the refrigerator (or even in the freezer) to harden for about 15 minutes;
- Once completely hardened use your hands to break the bark into pieces. Serve immediately or store in an airtight container at room temperature for up to 1 week or in the refrigerator.
Notes
DID YOU MAKE THIS RECIPE?
If you like this recipe, please consider rating it with the star rating system and leave a comment below – it’s so helpful for us and other readers. Thank you! And don’t forget to snap a picture if you make this and tag @familicious.kitchen on Instagram and hashtag it #familicious. Awesome! You can also find us on Facebook and Pinterest.

Leave a Reply